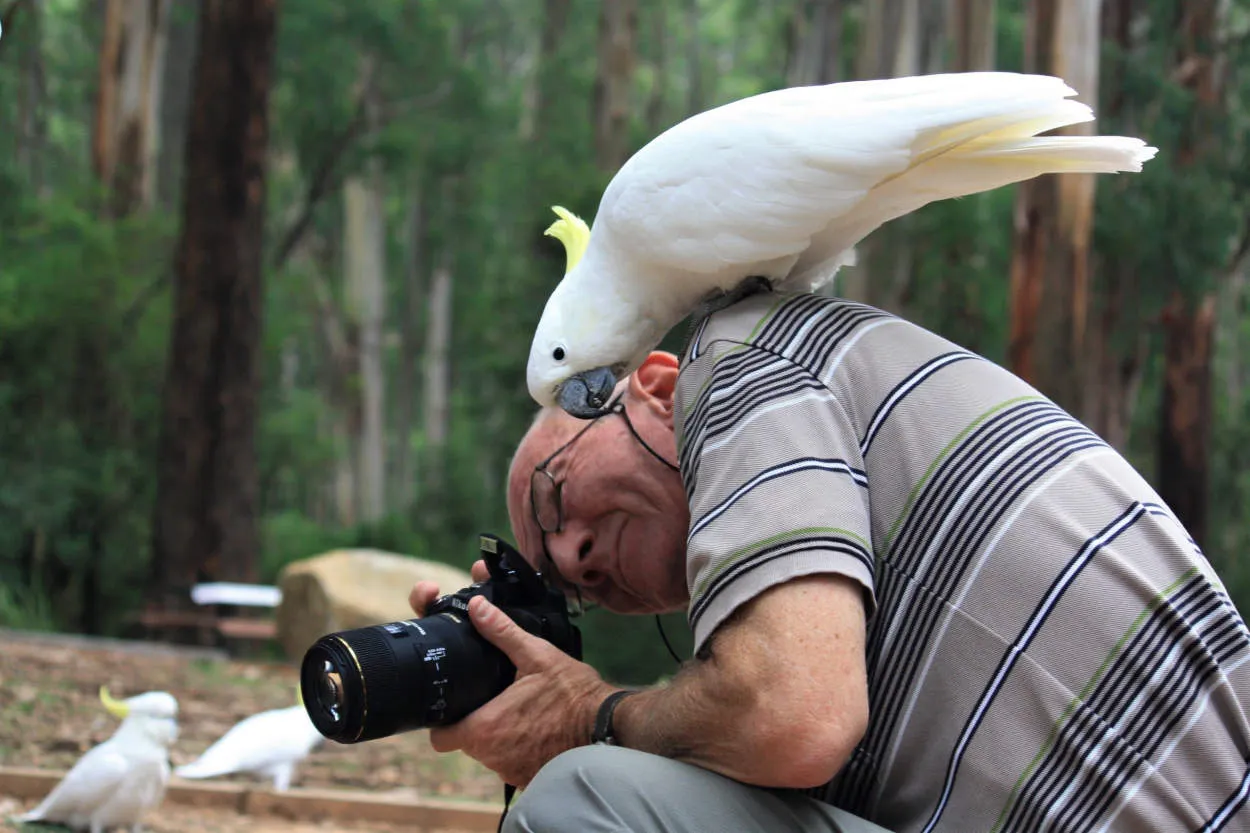
Mastering advanced camera settings is essential for capturing perfect wildlife shots. In this article, we will explore the intricacies of adjusting aperture, shutter speed, ISO, and focusing techniques to ensure you capture stunning and detailed images of the beautiful world of wildlife.
Shutter Speed: Freezing or Blurring Motion
In the world of wildlife photography, achieving the perfect shot requires understanding and mastery of advanced camera settings. One crucial setting that can make or break your images is the shutter speed. With the ability to freeze or blur motion, mastering the art of selecting the ideal shutter speed is essential for capturing flawless wildlife shots.
Shutter speed refers to the length of time the camera’s shutter remains open when taking a photo. It determines how long the camera sensor is exposed to light, thus affecting the amount of motion blur in the image. When it comes to wildlife photography, selecting the appropriate shutter speed can significantly impact the outcome of your shots.
To freeze the fast-paced movements of wildlife, opt for a faster shutter speed. This will allow you to capture precise moments without any noticeable motion blur. A shutter speed of 1/1000th of a second or faster is often recommended for photographing birds in flight, running animals, or any other high-speed actions.
On the other hand, intentionally capturing motion blur can add a sense of dynamism and energy to your wildlife shots. To achieve this effect, choose a slower shutter speed. This technique works particularly well when photographing animals in motion, such as a galloping horse or a flying bird. Experiment with shutter speeds around 1/30th of a second or slower to create beautiful motion blur.
Keep in mind that achieving the perfect shutter speed involves striking a balance between freezing and blurring motion. It depends on the specific wildlife species, the desired effect, and the available lighting conditions. Remember to adjust other camera settings like ISO and aperture accordingly to ensure a well-exposed image.
In conclusion, understanding the concept of shutter speed is vital for capturing captivating wildlife shots. Whether you aim to freeze or blur motion, mastering this advanced camera setting will equip you with the tools needed to create stunning images of wildlife in their natural habitats.
Aperture: Controlling Depth of Field
In photography, depth of field refers to the range of distance within an image that appears sharp and in focus. It is a crucial element in capturing the perfect wildlife shots. One of the advanced camera settings that can help control depth of field is the aperture.
Aperture is the opening in the lens through which light enters the camera. It is measured in f-stops, represented by numbers such as f/2.8, f/5.6, f/8, etc. A lower f-stop (wider aperture) results in a shallower depth of field, with only the subject in focus and the background blurred. On the other hand, a higher f-stop (narrower aperture) ensures that both the subject and background are in focus.
When photographing wildlife, using a wide aperture (low f-stop) can help isolate the subject from its surroundings and create a beautiful bokeh effect. This is especially useful when you want the animal to stand out against a busy background. On the contrary, a narrower aperture (high f-stop) can be beneficial when you want to capture the wildlife in its natural habitat, emphasizing both the subject and the environment.
It’s important to remember that the choice of aperture also affects other factors, such as exposure and shutter speed. As the aperture widens, more light enters the camera, requiring faster shutter speeds to avoid overexposure. Similarly, a narrower aperture necessitates longer shutter speeds to ensure proper exposure.
By understanding the concept of aperture and its impact on depth of field, wildlife photographers can experiment with different settings to achieve stunning and impactful shots. Whether it’s focusing solely on the subject or capturing the broader context, mastering aperture control is essential for capturing those perfect wildlife moments.
ISO: Managing Noise in Challenging Lighting
When it comes to capturing perfect wildlife shots, understanding and utilizing advanced camera settings is crucial. One of the key settings to consider is ISO, especially in challenging lighting conditions.
ISO refers to the sensitivity of your camera’s image sensor. The higher the ISO value, the more sensitive the sensor becomes to light. However, increasing the ISO can also introduce digital noise into your images, resulting in a loss of detail and overall image quality.
To manage noise in challenging lighting situations, consider the following techniques:
-
Use the lowest ISO possible:
Start by setting your camera to its base ISO, usually around 100 or 200. This will minimize noise in your images, especially in well-lit environments.
-
Adjust ISO according to available light:
In low-light situations, you may need to increase the ISO to maintain a proper exposure. However, be mindful of the trade-off between exposure and noise. Find the balance that suits your specific shooting conditions.
-
Utilize noise reduction software:
If you encounter noise in your images, post-processing software can help reduce its presence. Experiment with different noise reduction tools to find the one that works best for your workflow.
-
Consider shooting in RAW:
RAW files retain more image data and provide greater flexibility in post-processing. They can help to minimize noise while preserving important details.
Remember, managing noise in challenging lighting conditions is a continuous learning process. It requires experimenting with different settings and techniques to achieve the desired results. So, don’t hesitate to explore and practice with your camera to improve your wildlife photography skills!
Exposure Compensation: Balancing for Wildlife Subjects
When capturing wildlife photographs, understanding and adjusting exposure compensation is crucial to achieving stunning and balanced shots. Exposure compensation allows you to override the camera’s automatic exposure settings to ensure that your subject is properly exposed.
Wildlife subjects, due to their often unpredictable behavior and constantly changing lighting conditions, can present exposure challenges. Using exposure compensation can help you overcome those challenges and produce exceptional images.
Here are some tips to effectively use exposure compensation for wildlife photography:
- Monitor the histogram: The histogram is a graphical representation of the distribution of light in your image. Watch the histogram to ensure that the exposure is not skewed too far to the left (underexposed) or right (overexposed).
- Consider the subject’s brightness: Wildlife subjects with light-colored fur or feathers may require positive exposure compensation, while subjects with dark tones might need negative compensation. Adjust accordingly to avoid losing details.
- Be mindful of the background: Wildlife can blend with their surroundings, causing the camera’s light meter to be tricked. If the background is brighter than the subject, apply negative exposure compensation to prevent overexposing the main subject.
- Experiment with exposure bracketing: To ensure you capture the perfect exposure, try taking multiple shots with different exposure compensation settings. This technique is especially useful when shooting in challenging lighting conditions.
- Practice and review: Always review your images on the camera’s display screen to see if any adjustments are needed. Learning from your mistakes and experimenting with different settings will help improve your skills in exposure compensation.
Remember, exposure compensation is a powerful tool that can help you achieve balanced exposures for your wildlife subjects. By mastering this technique, you can elevate the quality of your wildlife shots and capture breathtaking moments in nature.
Conclusion
In conclusion, mastering advanced camera settings is crucial for capturing perfect wildlife shots. By understanding and utilizing features such as aperture, shutter speed, ISO, and focusing modes, photographers can capture the beauty and essence of wildlife in their photographs. Experimenting and practicing with these settings will ultimately lead to stunning wildlife images that truly showcase the wonders of nature.


