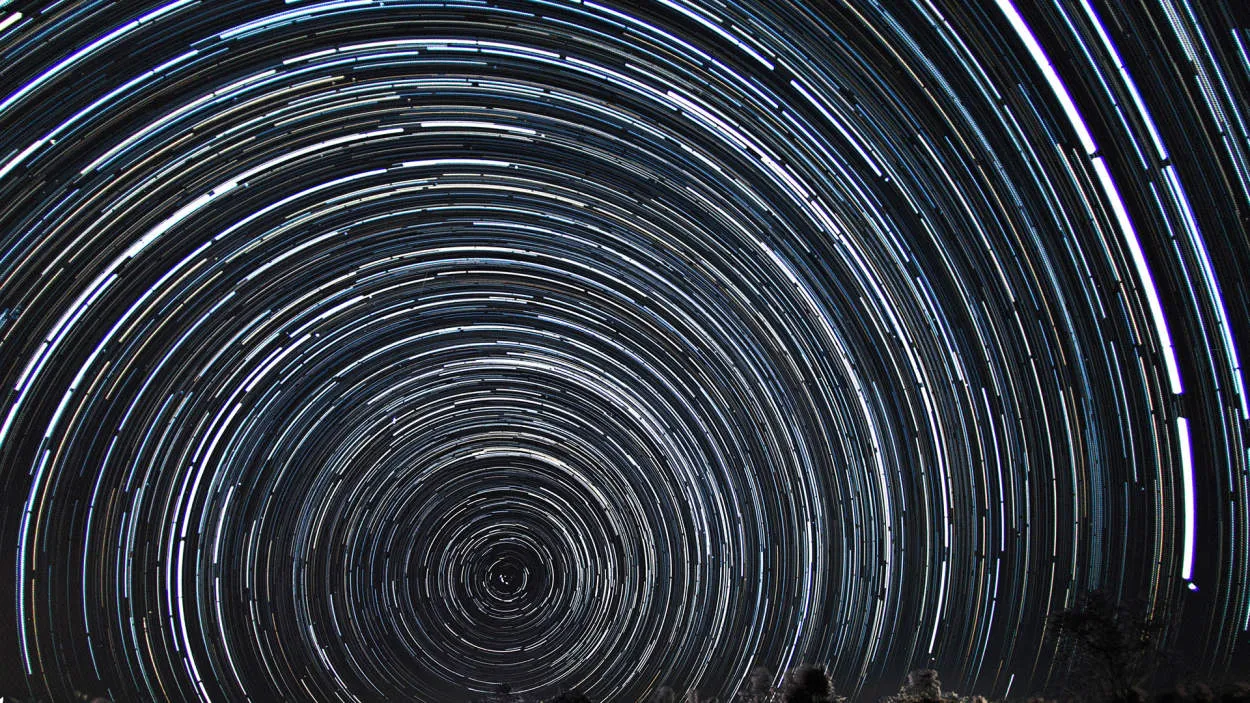
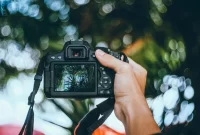
Are you intrigued by the fascinating world of time-lapse photography? In this beginner’s guide, we will dive into the basics of capturing mesmerizing, accelerated footage that reveals the marvels of time unfolding right before your eyes. From equipment selection to shooting techniques, join us on a journey to master the art of time-lapse photography.
Understanding the Concept of Time-Lapse Photography
Time-lapse photography is a technique that captures a series of still images over time and then combines them to create a video footage. It is a fascinating way to document and visualize the passage of time, allowing you to see processes that are otherwise invisible to the naked eye.
In time-lapse photography, you can capture various subjects, such as the movement of clouds, the growth of plants, the bustling activity of a city, or even the construction of a building. By condensing time into a shorter duration, time-lapse photography presents a unique perspective on the world around us.
To create a time-lapse video, you will need a camera capable of taking multiple shots at specific intervals, a stable tripod to keep your camera steady, and patience to wait for the desired time period. Once you have captured the series of photos, you can use software to compile them into a seamless video.
There are a few key considerations to keep in mind when venturing into time-lapse photography. Firstly, you should carefully choose the interval between shots as it will determine the speed at which the final video plays. A shorter interval will result in a faster playback, while a longer interval will slow down the motion.
Additionally, it is crucial to pay attention to the overall exposure settings and lighting conditions of your shots. Consistency in exposure throughout the time-lapse sequence is essential to ensure smooth transitions between images. It may be necessary to use manual mode on your camera to maintain consistent brightness and avoid flickering.
Lastly, to add a creative touch to your time-lapse videos, consider introducing motion into your shots. This can be done by moving the camera during the time-lapse sequence or using motorized equipment known as sliders or pan-tilt heads.
Choosing the Right Interval for Time-Lapse Sequences
When it comes to capturing stunning time-lapse sequences, one of the key factors to consider is the interval at which each frame is taken. The interval determines the speed at which time appears to pass in the final video.
Here are some important factors to keep in mind when choosing the right interval for your time-lapse sequences:
-
Subject and Activity:
The subject of your time-lapse plays a crucial role in determining the interval. If the subject is fast-moving or dynamic, shorter intervals between frames will be necessary to capture the desired level of detail. On the other hand, if the subject is slow-moving or static, longer intervals can be used.
-
Final Video Duration:
Consider the desired length of your final time-lapse video. If you want a shorter video, you would need a shorter interval between frames to speed up the overall appearance of time passing. Conversely, for a longer video, longer intervals between frames can be used to slow down the look of time passing.
-
Weather and Lighting Conditions:
Take into account the weather and lighting conditions at your location. If the lighting changes dramatically or the weather conditions vary rapidly, shorter intervals may be necessary to capture those changes effectively.
-
Battery Life and Storage Capacity:
Consider the battery life and storage capacity of your camera. Shorter intervals require more frequent capturing, which can drain the battery faster and consume more storage space. Optimize your interval selection to balance your resources.
Choosing the right interval for your time-lapse sequences is crucial to achieving the desired outcome. By considering the subject, final video duration, weather conditions, and your resources, you can capture captivating time-lapse footage that effectively conveys the passage of time.
Essential Equipment for Time-Lapse Photography
Time-lapse photography is a fascinating technique that allows you to capture the passage of time in a compressed form. To get started with time-lapse photography, you will need some essential equipment. Here are the key items you should consider:
1. Camera
The most important piece of equipment for time-lapse photography is a camera. Ideally, you should have a camera that allows you to manually control the exposure settings, such as aperture, shutter speed, and ISO. This will give you full creative control over your time-lapse shots.
2. Tripod
A sturdy tripod is essential to keep your camera steady throughout the entire time-lapse sequence. This is crucial as any camera movement can ruin the final result. Look for a tripod that can handle the weight of your camera and provides stability in different shooting conditions.
3. Intervalometer
An intervalometer is a device or a feature in some cameras that allows you to set the interval between each photo in your time-lapse sequence. It automates the process and ensures accuracy. Many modern cameras already have built-in intervalometers, but if yours doesn’t, you can invest in a separate one.
4. Remote Shutter Release
A remote shutter release cable or wireless remote control enables you to trigger your camera without touching it. This helps to eliminate any camera shake caused by manually pressing the shutter button. It is especially useful for longer time-lapse sequences.
5. Neutral Density (ND) Filters
ND filters are darkened filters that reduce the amount of light entering the camera. They allow you to use longer shutter speeds or wider apertures even in bright conditions. ND filters are particularly useful for creating smooth motion blur in time-lapse videos.
These are the essential equipment you need to start experimenting with time-lapse photography. With the right gear, you can capture mesmerizing time-lapse sequences that showcase the beauty of motion and change over time.
Post-Processing Tips for Time-Lapse Videos
Time-lapse photography is a powerful technique that allows you to condense long periods of time into short videos, creating stunning visual effects. Once you have captured your time-lapse footage, the next step is post-processing. In this article, we will share some essential tips to help you enhance your time-lapse videos and make them truly captivating.
1. Organize and Import Your Footage
Before you begin post-processing, it’s crucial to organize and import your footage into a dedicated folder on your computer. This will make it easier to locate and access the files you need during the editing process.
2. Use a Reliable Video Editing Software
Choosing the right video editing software is key to achieving professional-looking time-lapse videos. Look for software options that offer features specifically designed for time-lapse editing, such as the ability to adjust exposure, speed, and add smooth transitions between frames.
3. Adjust Exposure and Color Correction
Time-lapse videos can sometimes have exposure fluctuations, especially when shooting in changing lighting conditions. Use your video editing software’s exposure and color correction tools to even out the exposure and enhance the overall color balance of your footage.
4. Remove Flicker
Flickering is a common issue in time-lapse videos caused by inconsistencies in lighting or exposure settings. To remove flicker, you can use specialized plugins or manual adjustments in your video editing software. This will result in smoother and more consistent footage.
5. Add Motion or Camera Tracking
To add visual interest to your time-lapse videos, consider adding motion or camera tracking effects. This can be done during post-processing by using keyframes to adjust the motion path of the camera or adding artificial motion to elements within the frame.
6. Apply Creative Effects
Experiment with creative effects to give your time-lapse videos a unique look and feel. You can try applying color grading, adding overlays or text, applying interesting transitions, or even incorporating visual effects to make your videos stand out.
7. Export and Optimize for Viewing
Once you are satisfied with your post-processing edits, it’s time to export and optimize your time-lapse video for viewing. Consider the platform or device on which your video will be viewed and choose the appropriate resolution, format, and compression settings for optimal playback.
Conclusion
In conclusion, time-lapse photography is a fascinating technique that allows photographers to capture the passage of time in a visually captivating way. By following the beginner’s guide provided in this article, aspiring photographers can get started on their time-lapse journey with confidence. From choosing the right equipment to understanding the key principles, practicing and experimenting will lead to the creation of stunning time-lapse sequences that can truly mesmerize viewers.


